For us, developers, starting a new web project can be a tedious job. It raises questions like:
- What technology should I use for the front-end?
- What technology should I use for the back-end?
- What database is the best?
Because nowadays all Javascript technologies like React, Angular and Vue are very popular for building Web applications, so we can get an answer for the first question very fast. But what about the back-end? Should I use NodeJS or .NET Core? Is it better to use a relational or non-relational database? Well, Strapi has the answer to all these questions.
What is Strapi?
Strapi is an open-source Headless CMS that gives developers the freedom to choose their favorite tools and frameworks. With all the plugins and features Strapi gives the developers the ability for customization and extensibility. Strapi is also very Developer-Friendly by providing an API that can be easily accessed either via REST or GraphQL endpoint.
In this article, we are going to build a simple web application using Strapi and Angular.
First, we are going to set up and build our API.
Install Strapi
Requirements: Node.js 12.x and npm 6.x
Create a new project
npx create-strapi-app blog_api --quickstart
If we want to customize our application to use the specific database we need to run the command without --quickstart argument. By default, Strapi is using sqlite.
Once the setup from the command above is finished Strapi will automatically run (NOTE: when manually start the project run the command strapi develop) and we can navigate to our admin panel on the following link: http://localhost:1337/admin. When you navigate you will able to see the registration form.
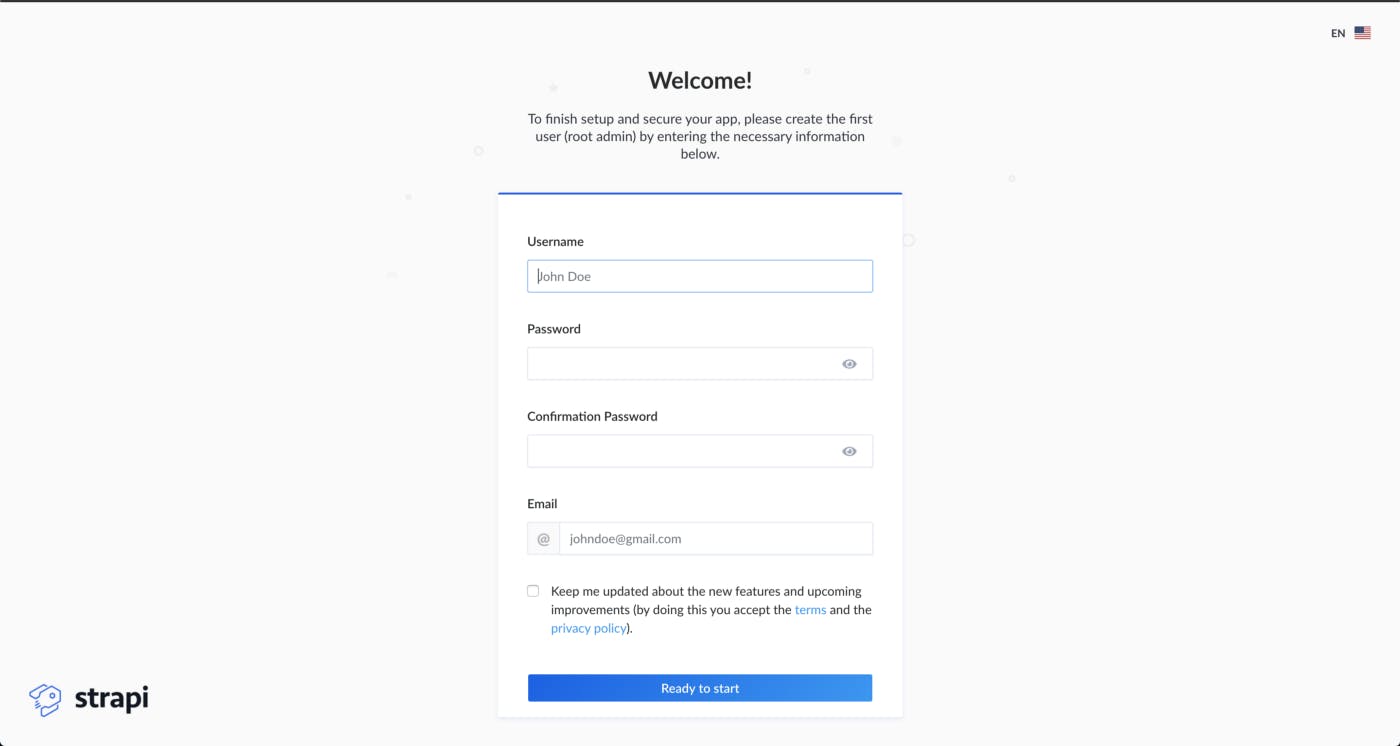
When we finish with registering our first user, we can start building our API.
First, what we need to do for our Blog Application is to define the models that we will have. We will define three models: Page, Post, and Content.
To create a new Model navigate to Content Type Builder.
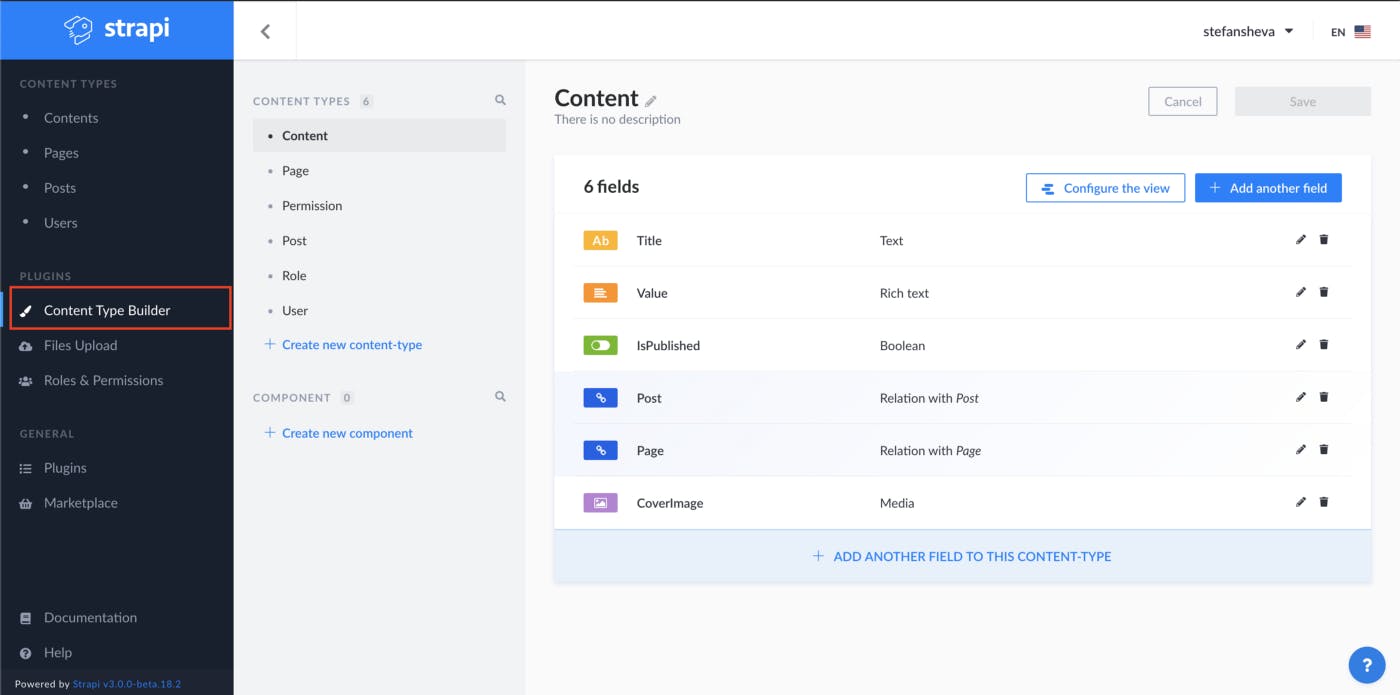
Our model Content will have:
- Title - type
Text - Value - type
RichText - IsPublished - type
boolean - CoverImage - type
Media - Relation to
Post(Content belong to manyPosts) - Relation to
Page(Content belong to manyPages)
Page model will have:
- Name - type
Text - Relation to
Content(Pagehas manyContents) - Relation to
Post(Pagehas many and belongs to manyPosts)
and Post model will have:
- IsDeleted - type
boolean - Relation to
Page(Posthas many and belongs to manyPages) - Relation to
Contents(Posthas manyContents)
As soon as we define our models we are ready to create some pages, contents, and posts. We can simply do that by navigating to each model and click Add new [name-of-the-model]
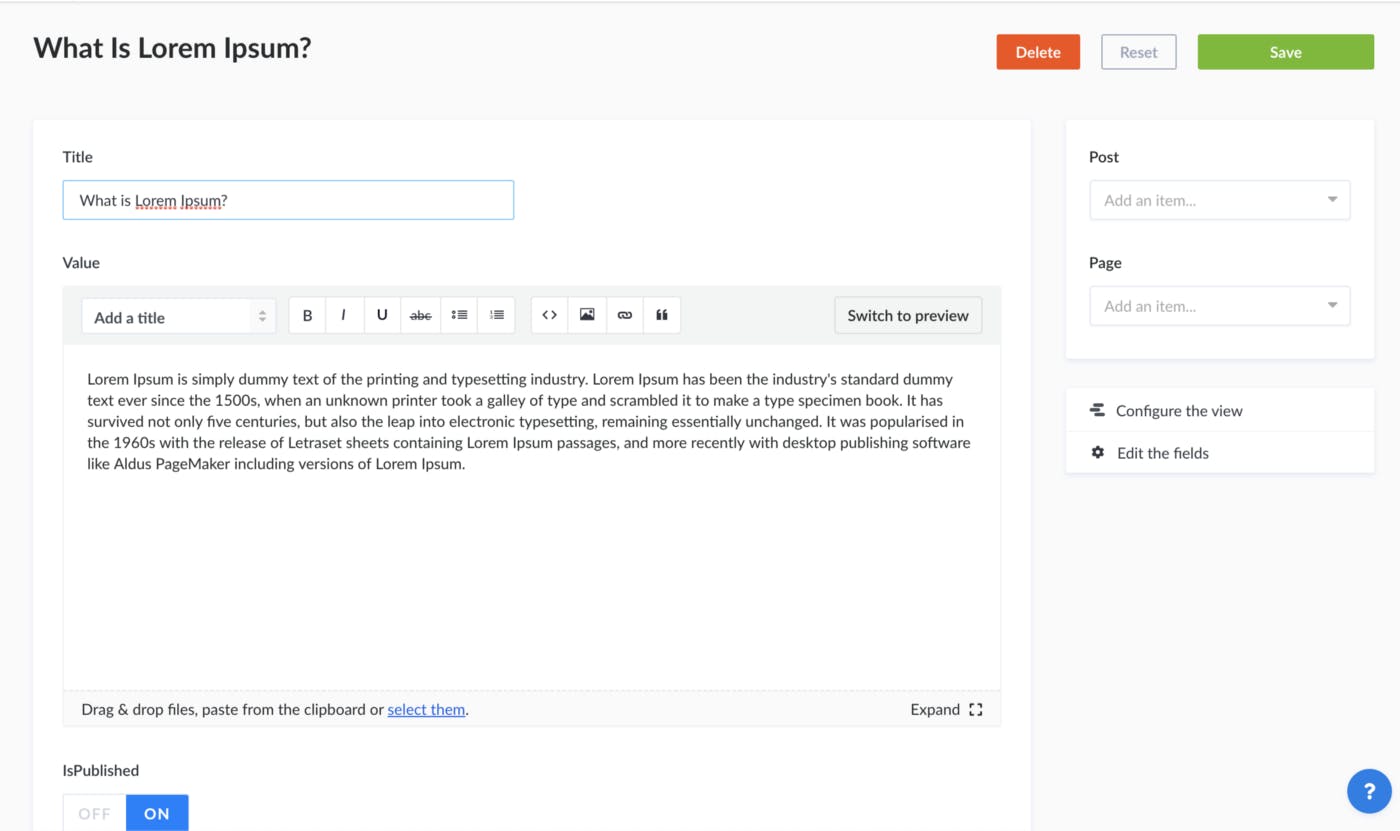
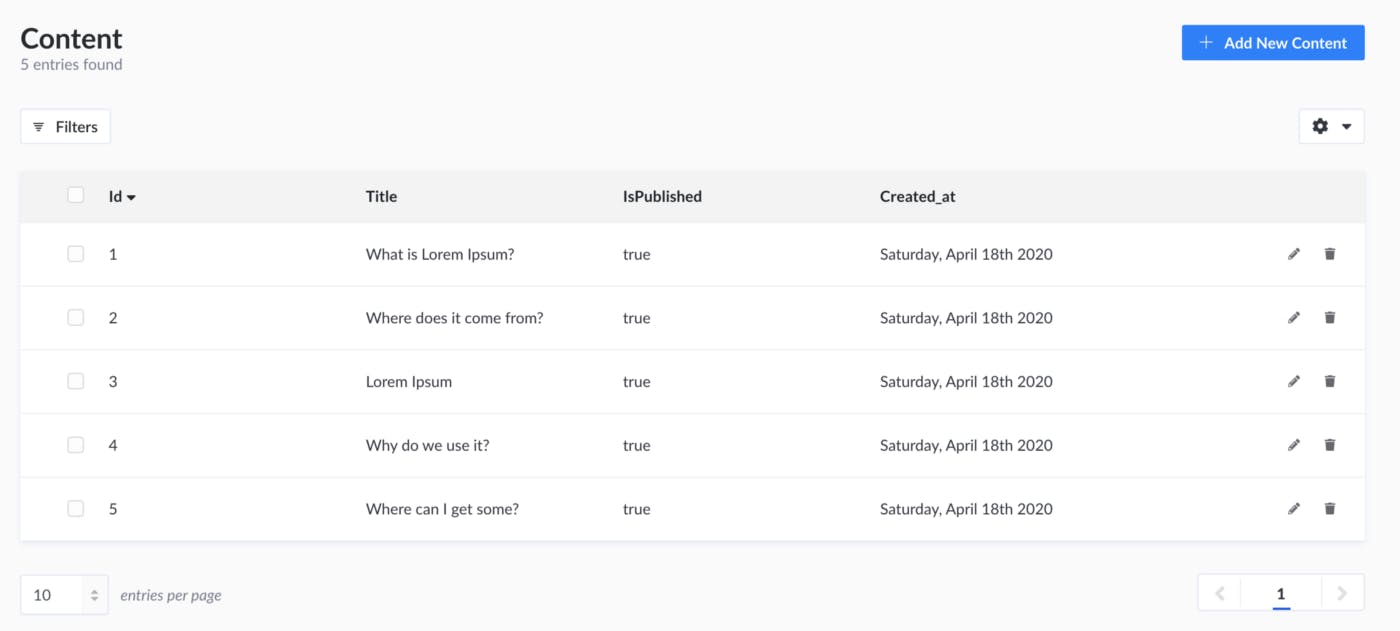
Now, when we have models and data into our database we need to give access to our visitors of blog application. To do that we need to navigate to Roles and Permissions tab in the menu. We can see there are by default two types of roles: Public and Authorized. We navigate to Public role and select:
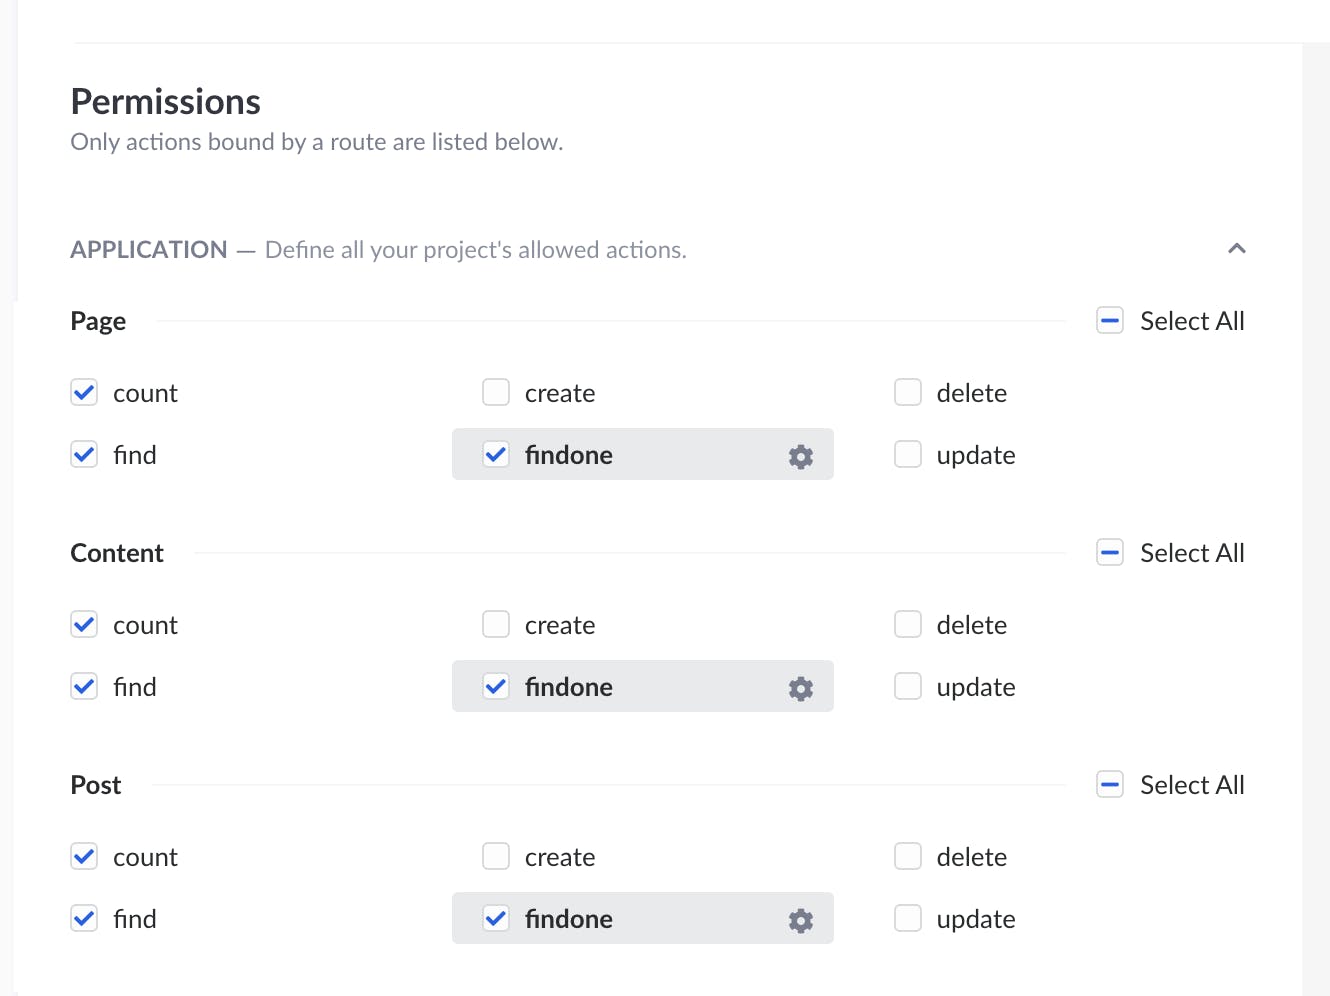
And that's it. Our API is ready. Now we only need to make our web application.
Angular Application
For creating our Angular application we will use Angular CLI.
Install the Angular CLI with the following command:
npm install -g @angular/cli
Run the following commands to create and run a new angular app:
ng new blog-web
cd blog-web
ng serve
If you navigate to http://localhost:4200/ you will able to see the new app.
Now, we can start with styling our application and access data from our API. First, we will create services and API calls to get our data from Strapi. Navigate to src folder and run the following commands:
mkdir services
cd services
ng generate service page
ng generate service post
ng generate service content
Angular CLI will create these services so we are ready for coding. In environment.ts we will put our API URL.

Navigate to page service and insert the following code:
- page-service.ts
We created two methods: one for getting all pages and one for getting page by id. We will make the same for post and content services.
NOTE: Before using HttpClient we need to register into app-module.ts
- Go to app-module.ts
- Import the
HttpClientModulefrom@angular/common/http,
import { HttpClientModule } from '@angular/common/http'
- Add it to the
@NgModule.importsarray.
imports:[HttpClientModule, ...]
- post-service.ts
- content-service.ts
Next, we will create post-component that will contain style and functionality for posts and we will use app-component for displaying our landing page. Navigate to app folder and create a new folder called components. Here, we will store all components that we use in our blog application. With the following command we can generate a new component:
ng generate component post
Insert the following code into the post component.
- post.component.html
- post.component.scss
- post.component.ts
Because we are using bootstrap classes we need to include bootstrap into our project as well. We can do that by adding the following into index.html
<link rel="stylesheet" href="https://stackpath.bootstrapcdn.com/bootswatch/4.3.1/cosmo/bootstrap.min.css">
And we are almost done. The only thing that left is to modify app-component and our blog is ready for use.
- app.component.html
- app.component.scss
- app.component.ts
Congratulations, we successfully built a Blog application.
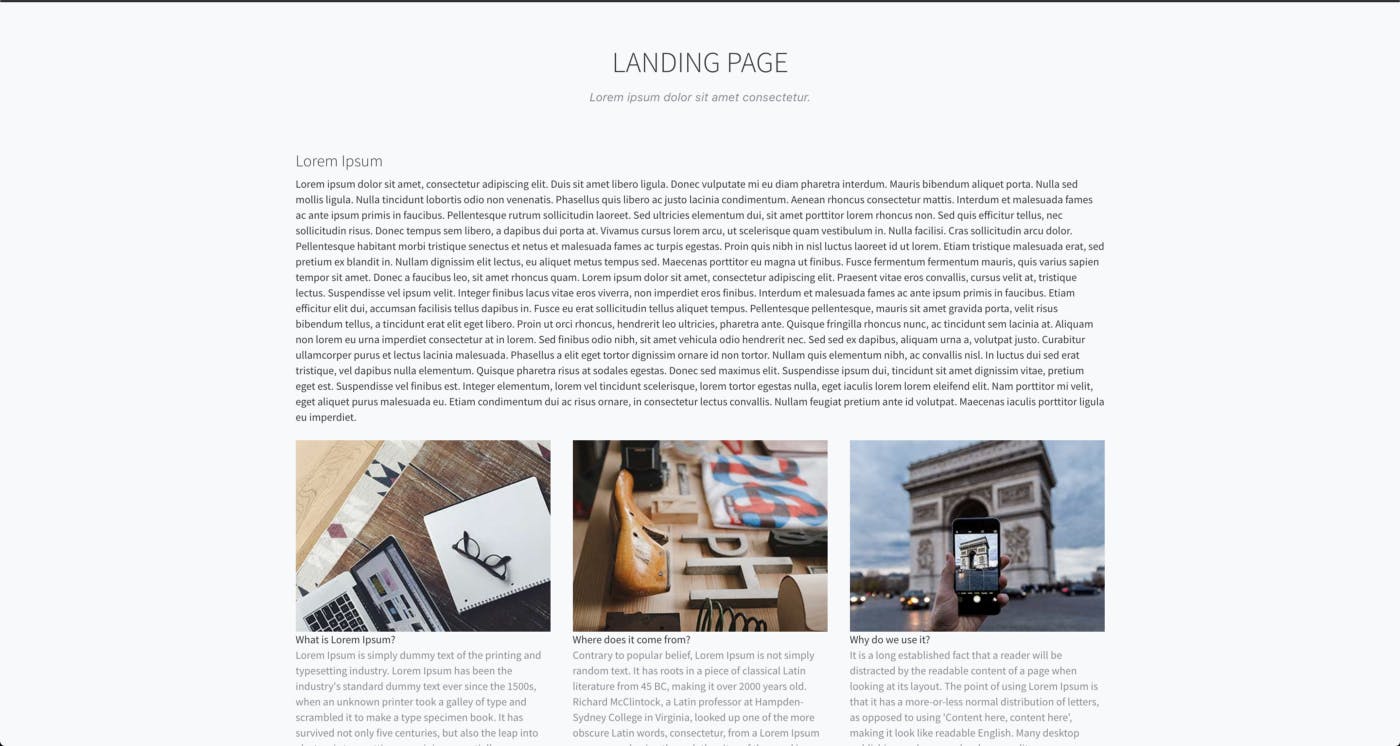
Conclusion
Feel free to continue working on your blog. You can try various scenarios navigation, styling e.t.c. Play with models into Strapi and API calls from your Angular application.
The source code of this tutorial is available on Github. I hope you enjoyed through this adventure.
